
SEE ALSO

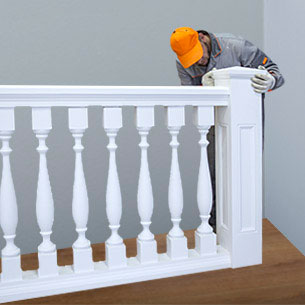
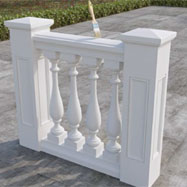
Decorative balustrade installation
DOWNLOAD INSTRUCTION-
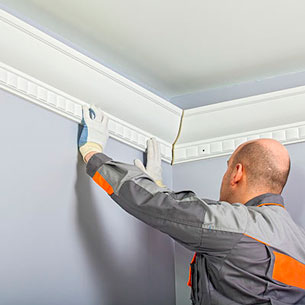
Remove excessive glue
with a cloth damped with acetone.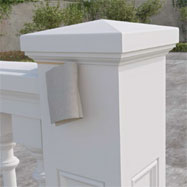
-
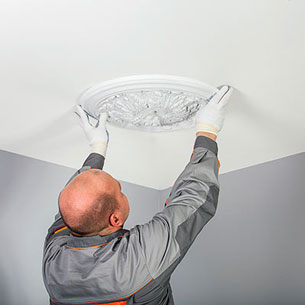
Following a manufacturer’s manual paint the item.
-
Order the item without an internal support tube.

-
Make marks on the item following
the radius table (see below).
20 мм.* - 0,5 м.**
40 мм.* - 1 м.**
60 мм.* - 1,5 м.**
(* - Spacing; ** - Hand- and bottom rail bending radius)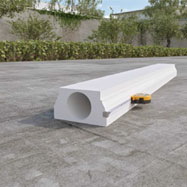
-
Cut the item leaving about 4 cm uncut.
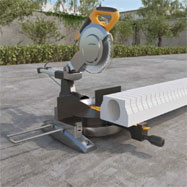
-
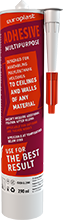
Fill the cuts with Evroplast for Bonding joints
so that excessive glue shows up.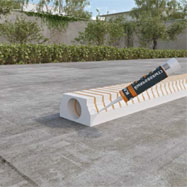
-
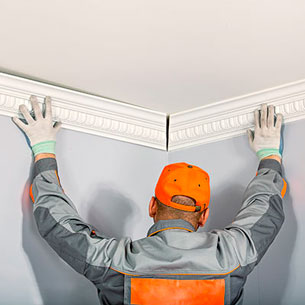
Place the item onto an even surface
according to the radius markings,
secure the position of the item.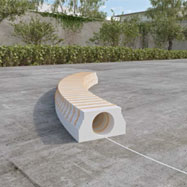
-
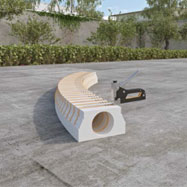
Secure the cuts using a construction stapler.


-
View:
- 1 - 8
- 9 - 16
- 17 - 24
- 25 - 32
- 33 - 40
- All