


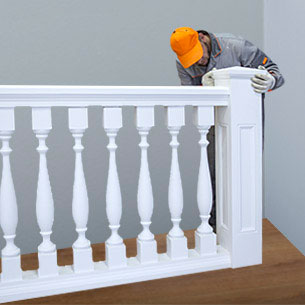
Ceiling cornice installation
DOWNLOAD INSTRUCTION-
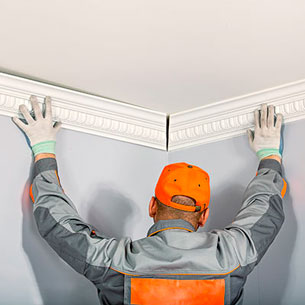
Firmly press the product to the wall
and the ceiling, make a mark
on the bottom edge of the product.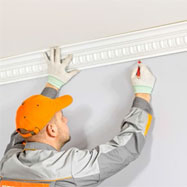
-
Using of chalkline connect the marks
on the perimeter of the room.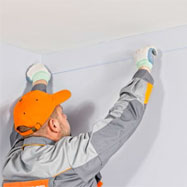
-
Using the adjustable square
measure the angles of the room.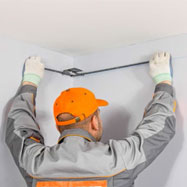
-
Using a mitre saw,
cut out the element to the appropriate angle.
In a room with 90° angles a mitre box
or a handsaw can be used
-
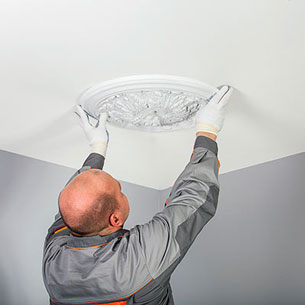
Apply evenly on the mounting surface Europlast
multipurpose adhesive along the whole length.
The thickness of the applied adhesive
should be 3-5 mm.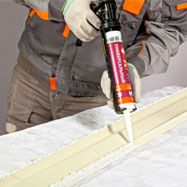
-
Attach the item to the place of installation,
using as benchmarks the previously made marks
on the wall. Push the entire length of the item
so the adhesive exudes from the entire plane.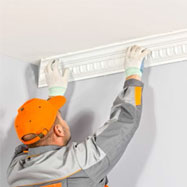
-
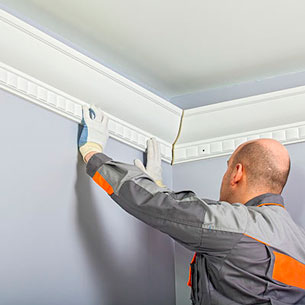
Immediately after gluing remove
the excess of Adhesive with a spatula.
-
When using Assembly Adhesive,
remove the remaining excess of adhesive by wiping
the areas with a cloth dampened with water;
use acetone if Multipurpose adhesive is used.


-
View:
- 1 - 8
- 9 - 16
- 17 - 22
- All