

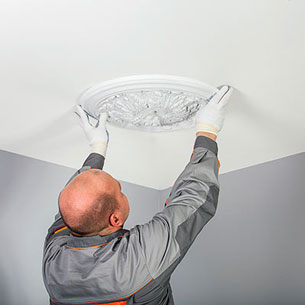
Ceiling rose installation
DOWNLOAD INSTRUCTION-
Drill a hole in the product.
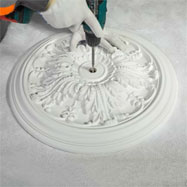
-
Apply the product’s outline on the ceiling.
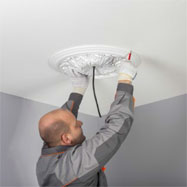
-
Apply evenly on the mounting surface
Assembly Adhesive or Multipurpose Adhesive
along the whole length. The thickness
of the applied adhesive should be 3-5 mm.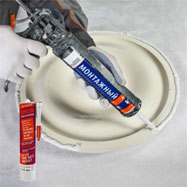
-
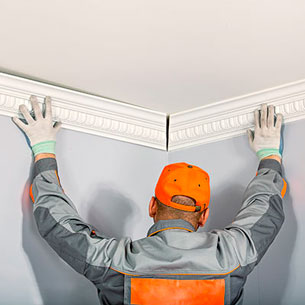
Attach the item to the place of installation.
Push the the item along the whole circular
length so the adhesive exudes
from the entire plane.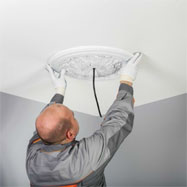
-
Using self-tapping screws fasten
the rose to the ceiling.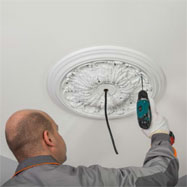
-
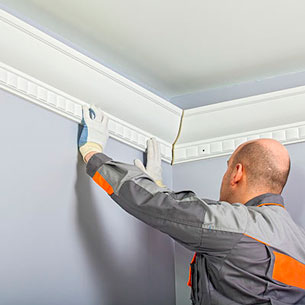
Immediately after gluing remove
the excess of Adhesive with a spatula.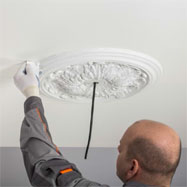
-
When using Assembly Adhesive,
remove the remaining excess of adhesive
by wiping the areas with a cloth dampened
with water; use acetone
if Multipurpose Adhesive is used.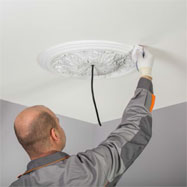
-
Fill the area of screw holes with finegrained,
water-soluble filler for interior works.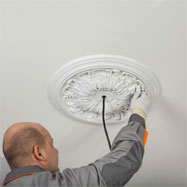


-
View:
- 1 - 8
- 9 - 12
- All